

day 1: starting your starter
day 1: starting your starter
(and some tools)

I’ve lost pretty much all sense of time, and I rarely know what day it is, so I guess now is as good a time as any to start a 1 - 2 week project.
Here’s how to make a sourdough starter from scratch.
I’m continuing to maintain my existing one, which I have had for about three years, now. But just so I can go along this journey with anyone making their own starter for the first time, I’ve started a new one this afternoon. (That said, if you live in the New Haven area, I am happy to leave you some on my porch).
Baking bread does require a few specialized tools (more on that later), but we thankfully don’t need any right now to get started. All we need is flour, water, and an airtight container (a glass jar or tupperware works fine).
Getting started.
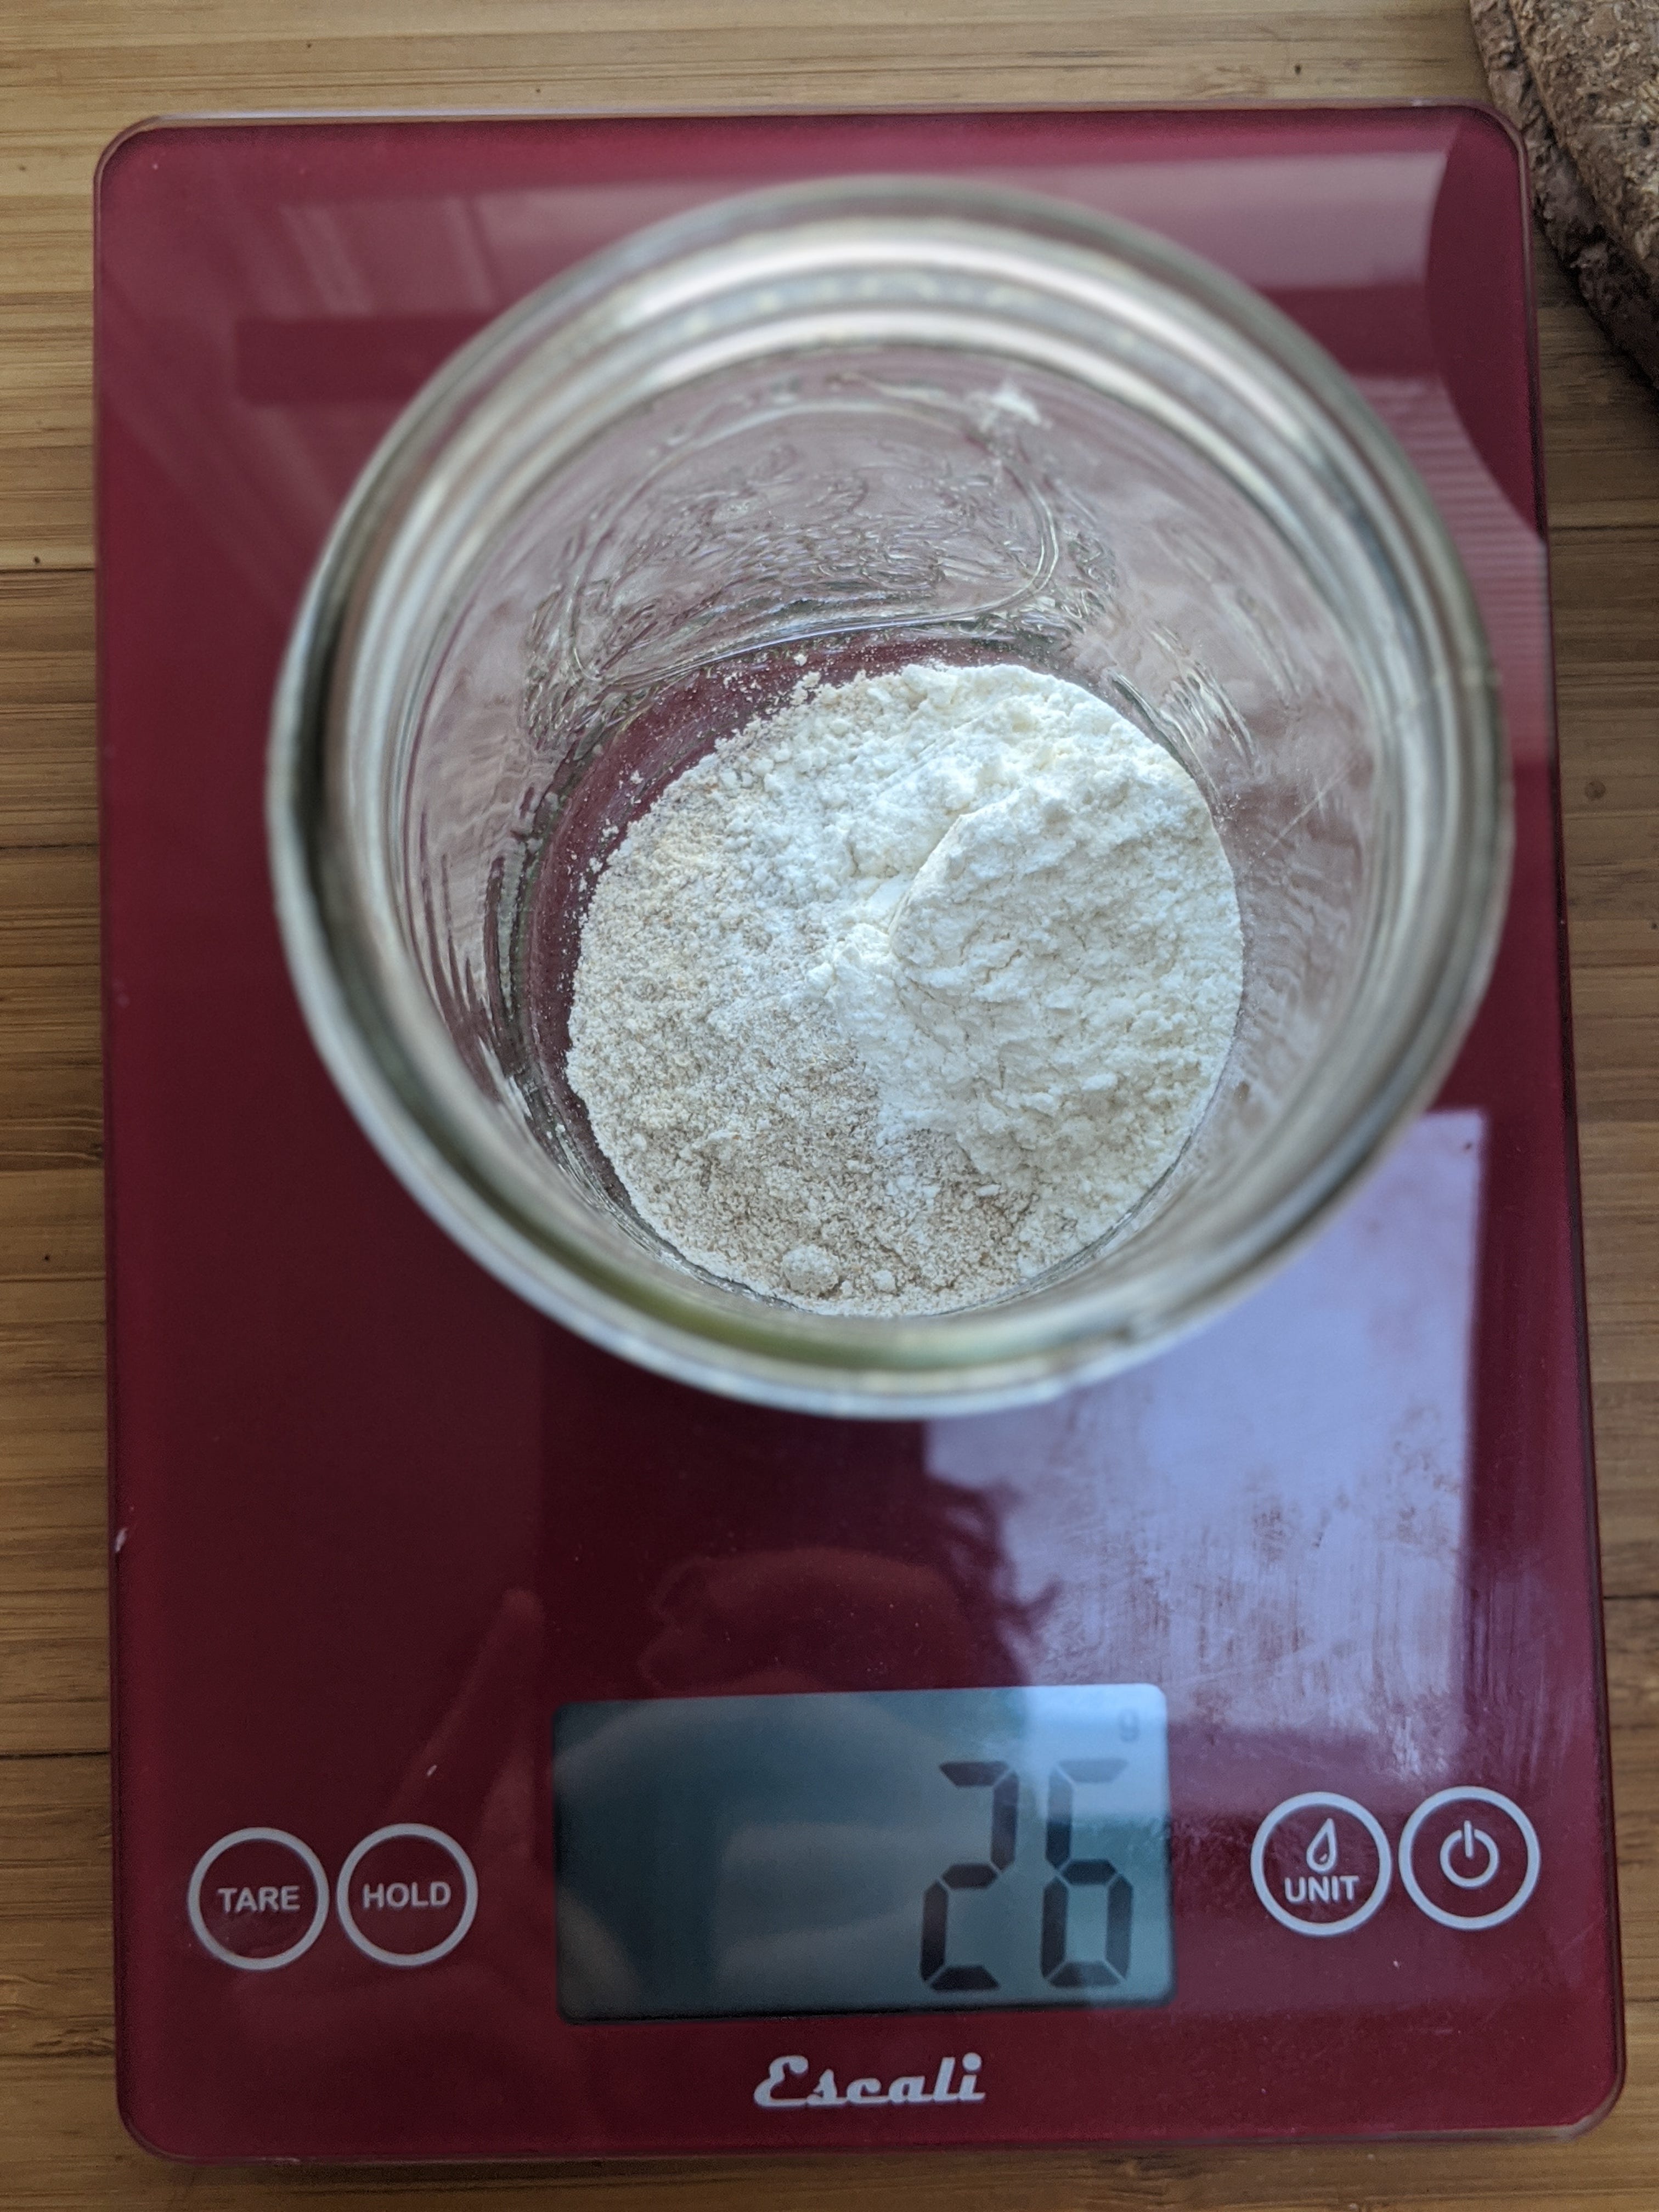
First, we add equal parts whole wheat and all-purpose flour to whatever container you want (a 50/50 mix is ideal, but if you use all of one or the other, that’s totally fine). Weights don’t matter too much right now, so if you don’t have a scale, add about a tablespoon of both. We don’t need to be too precise at this point, or really ever.
Next, we add as much water as we added flour (so if you did two tablespoons flour, do two tablespoons water).
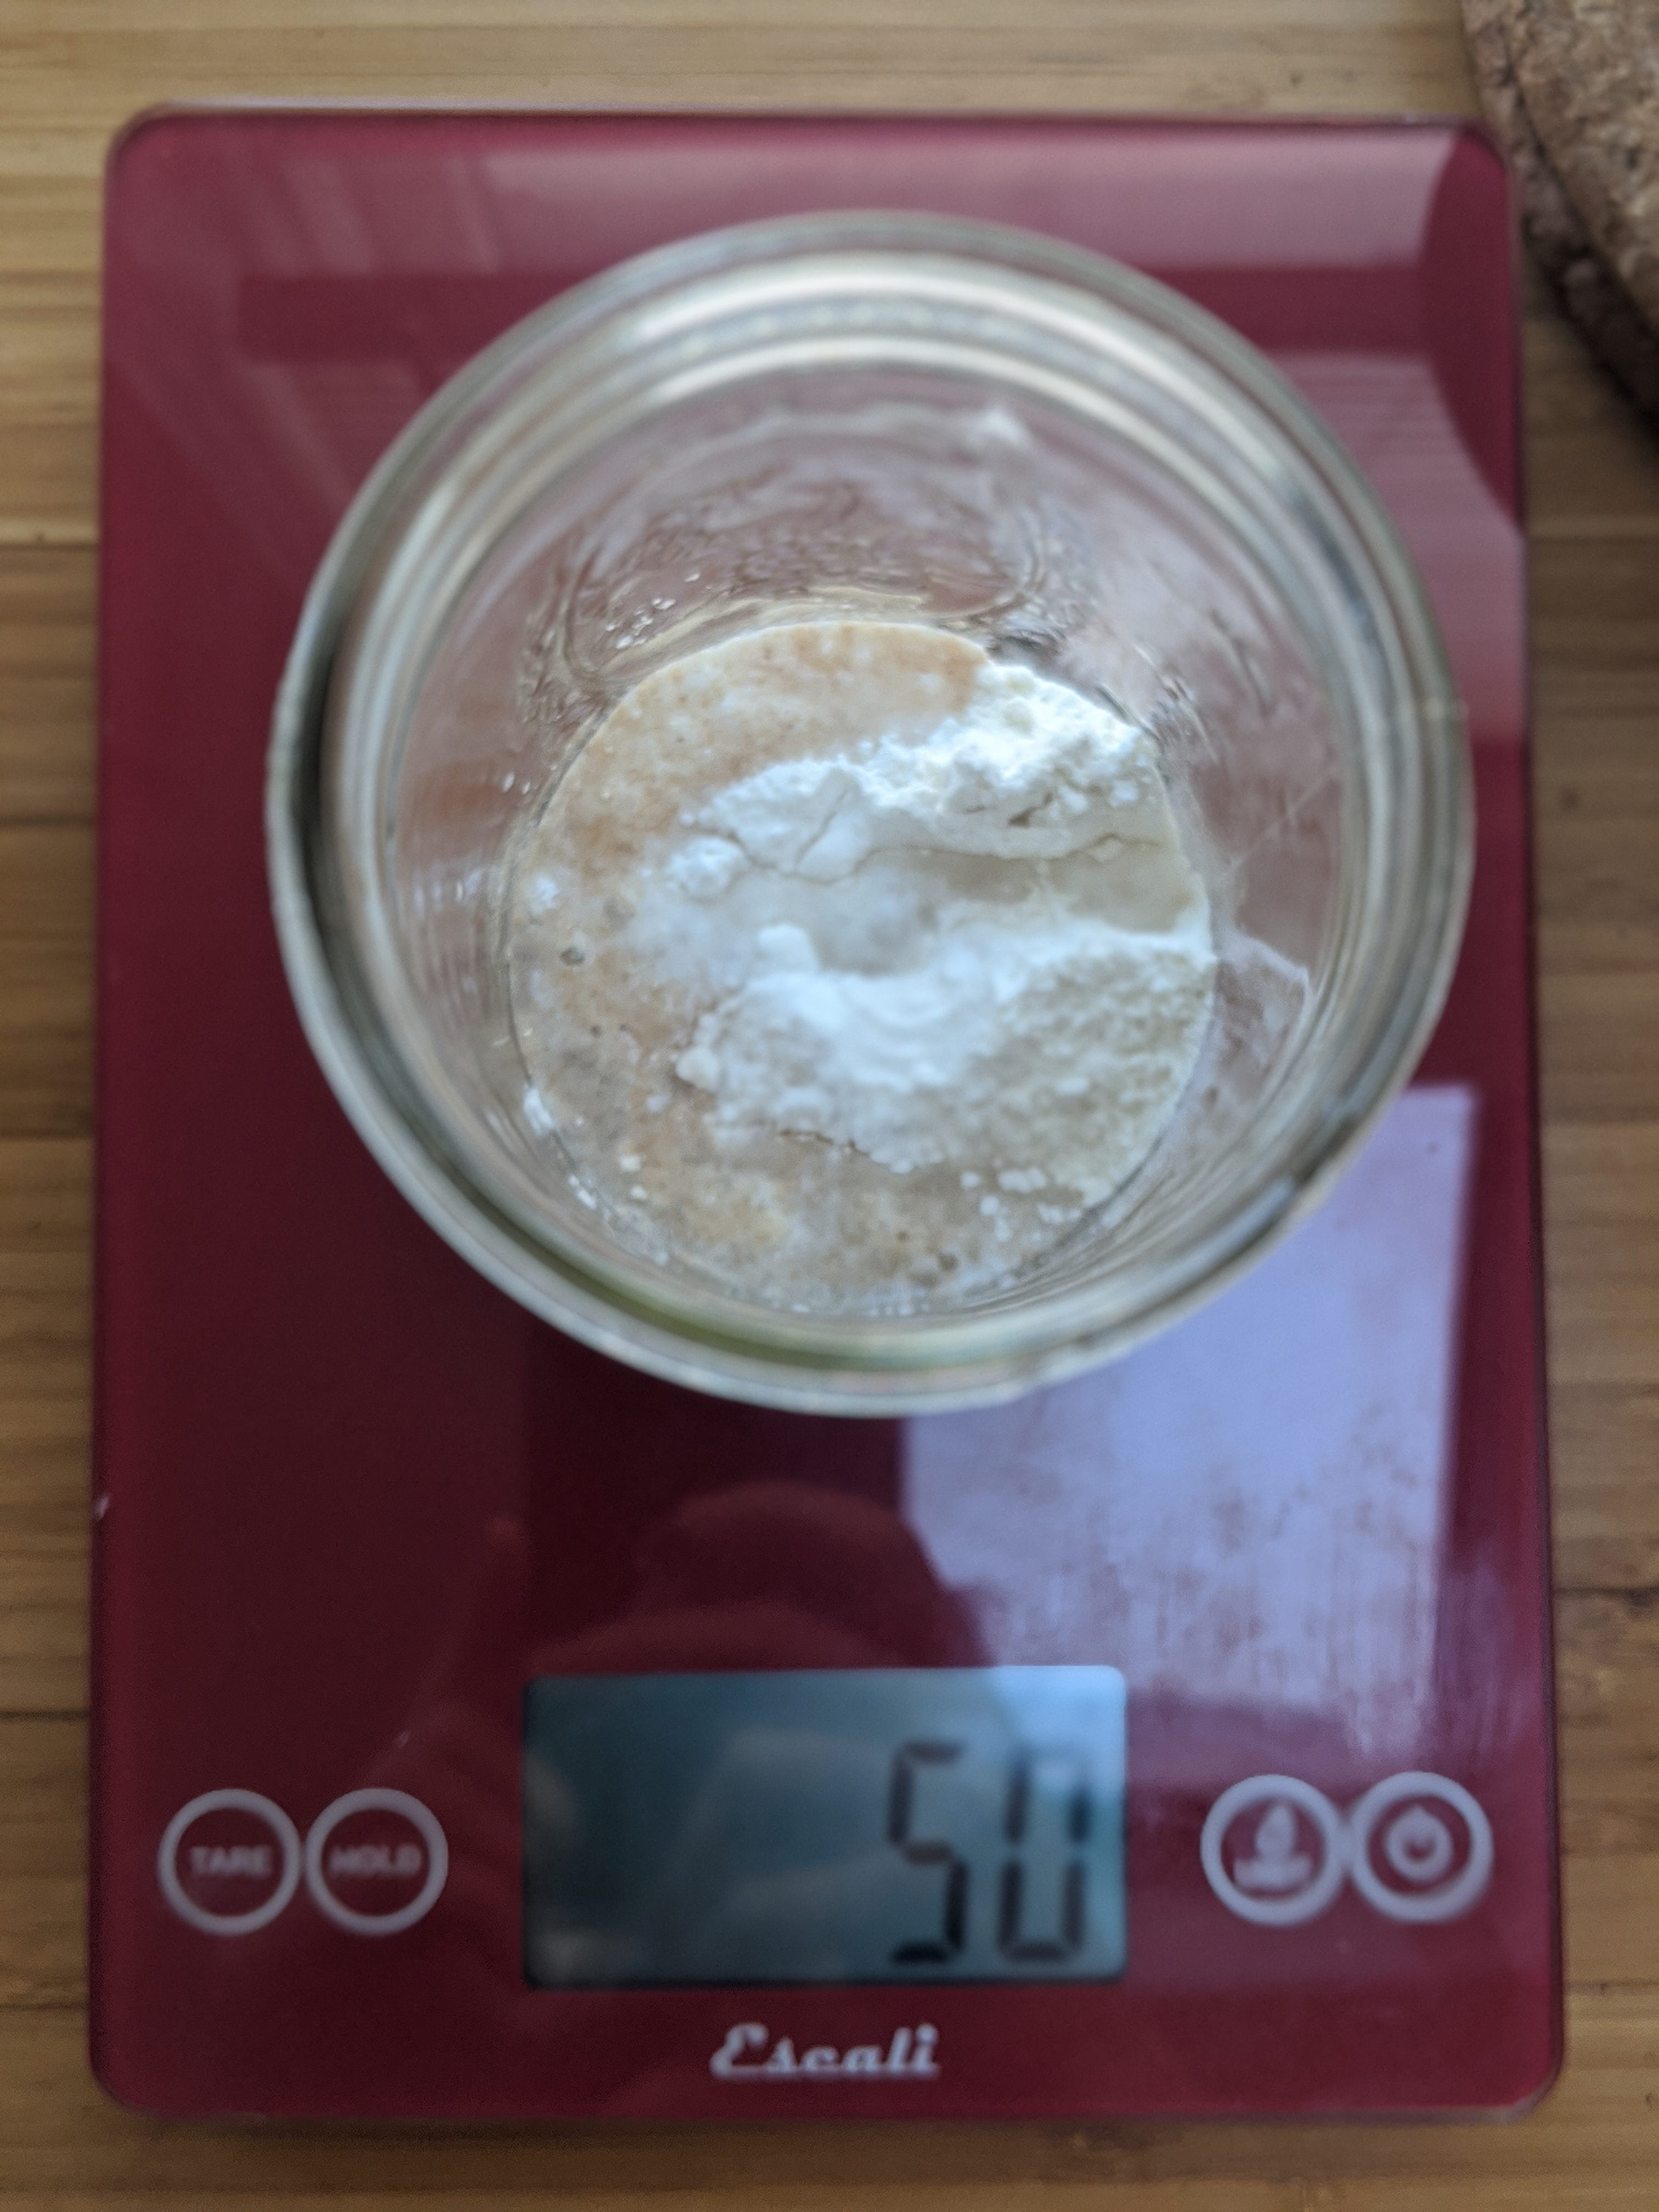
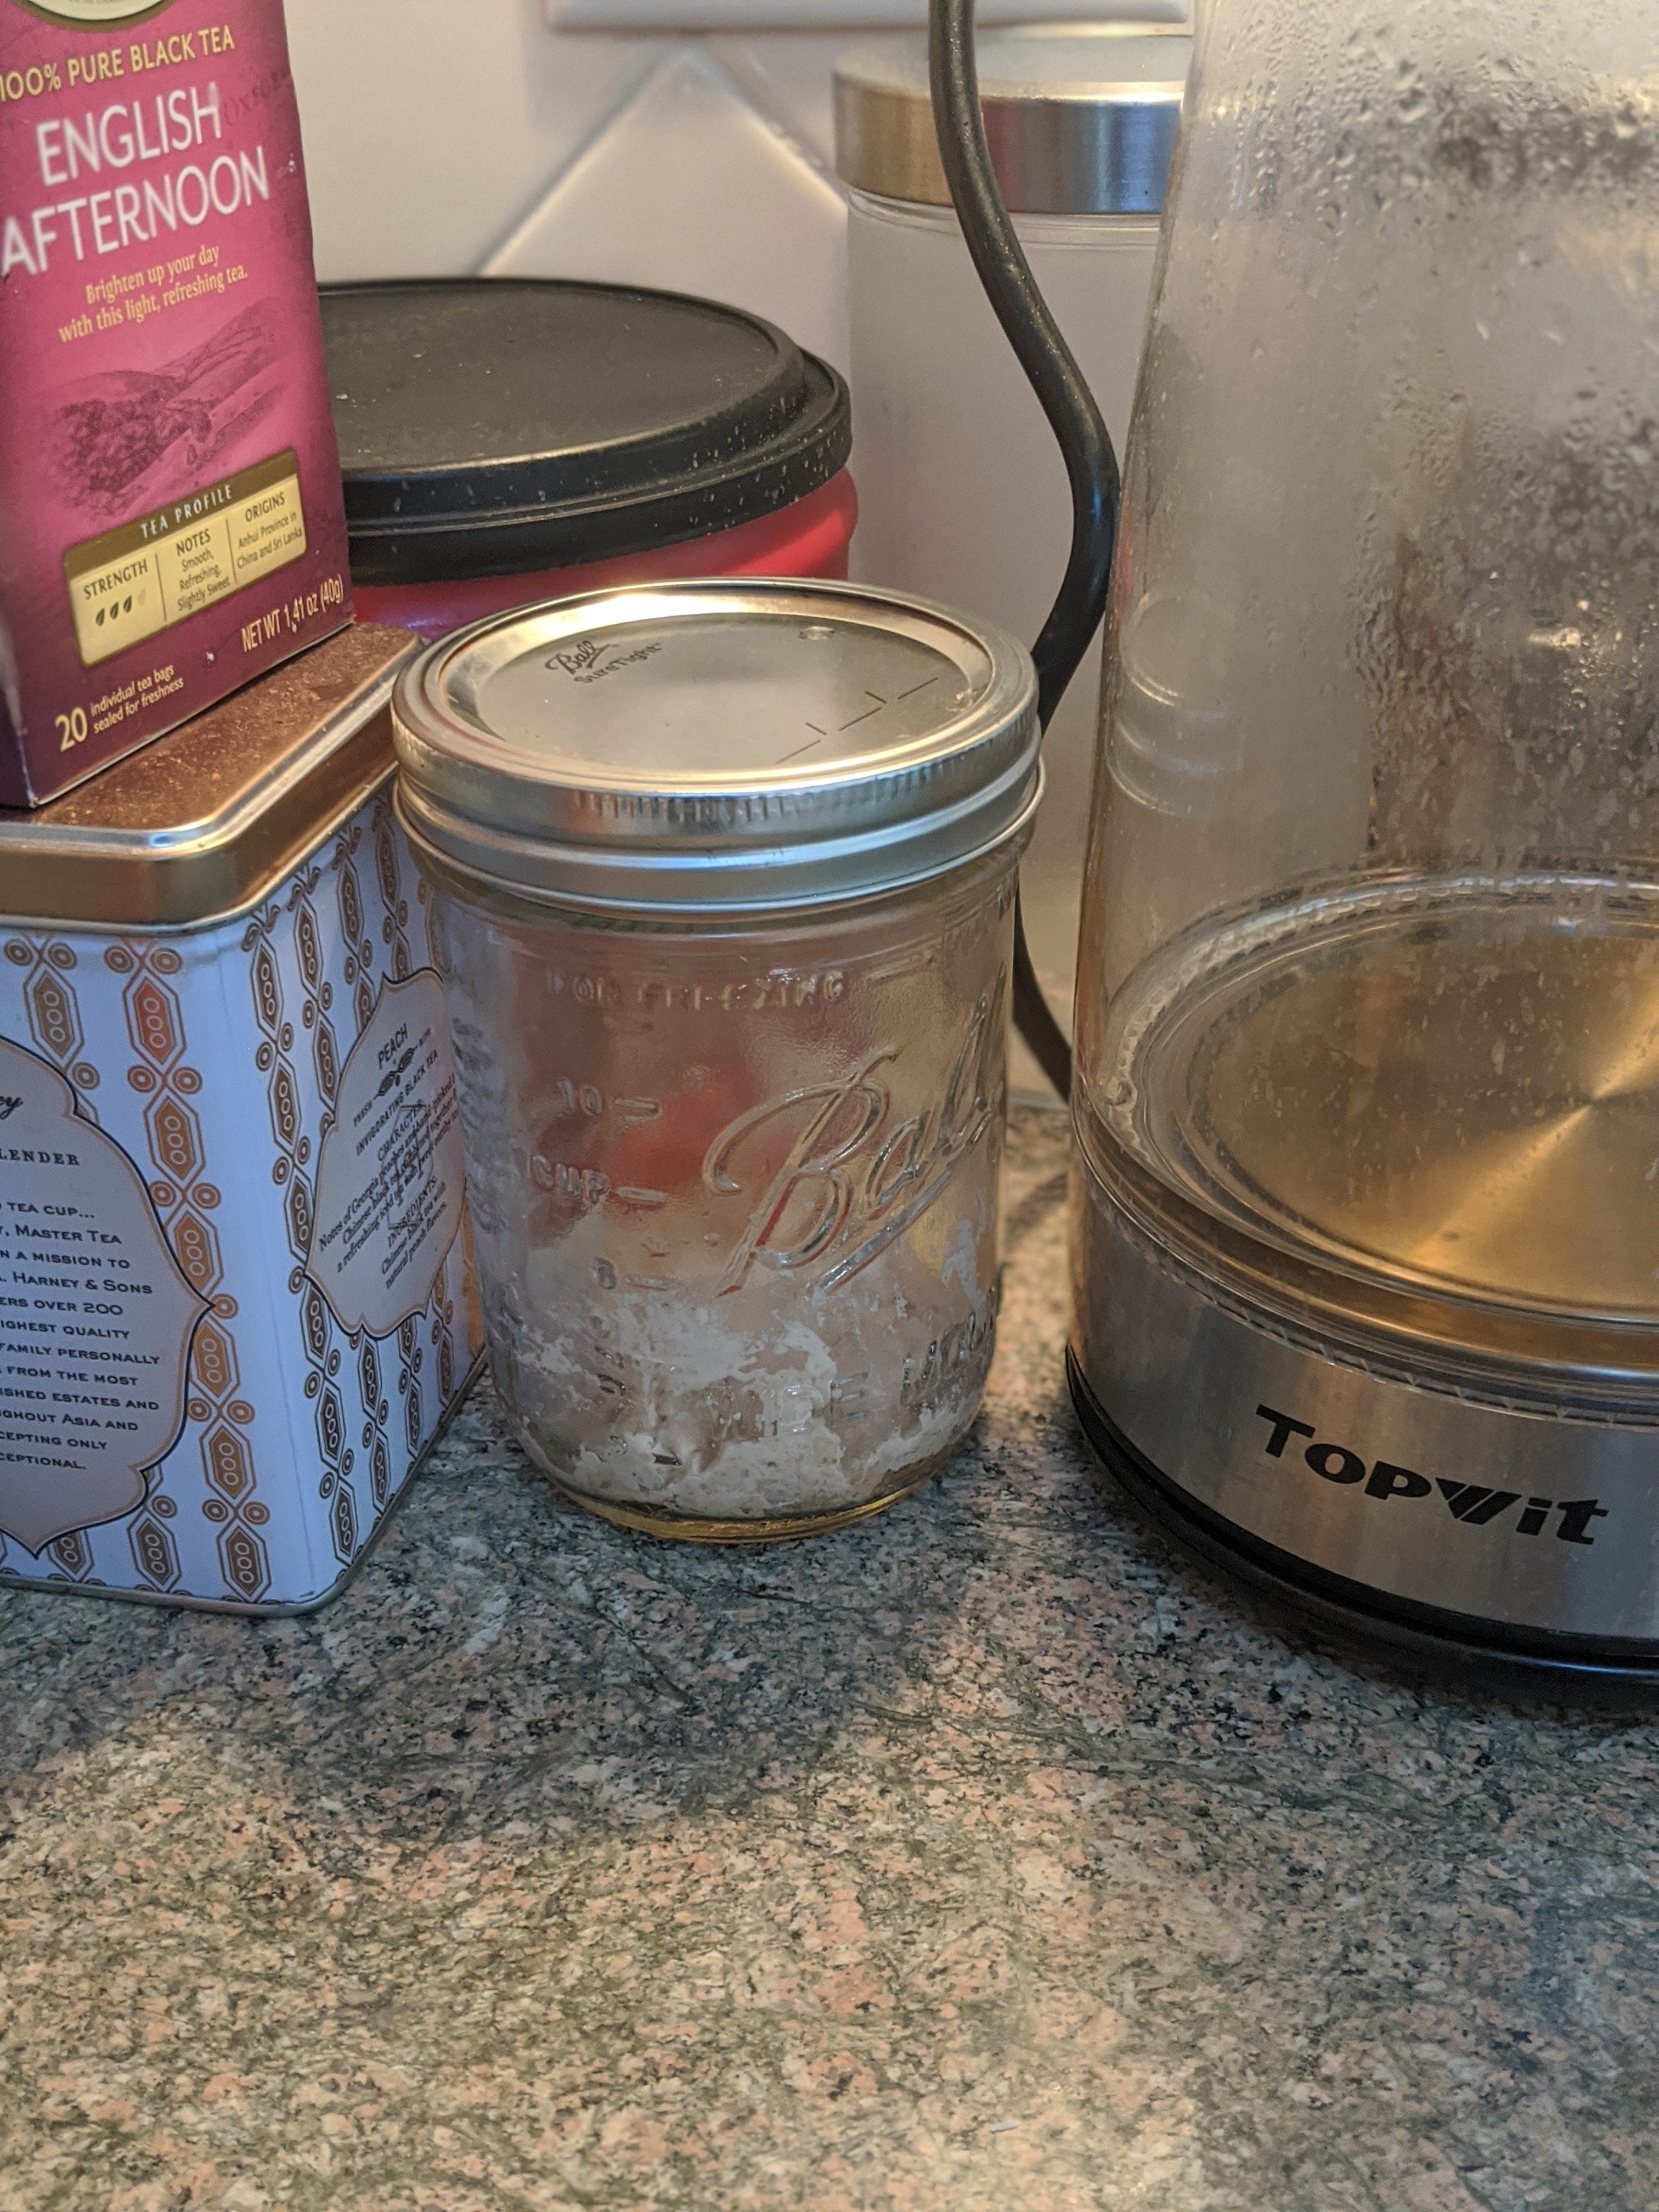
Finally, mix it together and store it somewhere warmish, about 70°F. This is just what my thermostat is set to right now, so I’d put it anywhere that’s basically the temperature of your house. Nowhere too drafty or stuffy, though. I’m not a microbiologist or a chemist, and I’m not going to pretend to be, but if it’s too hot or too cold it’ll take too long or stuff will die. This shouldn’t be an additional source of anxiety, though. I just stashed mine on the counter next to our coffee and tea supplies. It’ll be fine.
Another important word of caution: if your tap water has chlorine in it, just use filtered water (chlorine is bad for reasons I don’t and refuse to understand).
What next?
Now we wait two days, at which point we will hopefully start seeing some bubbles. That’s good news, and it means what we want to happen is happening.
I’ll check in again then, but here’s the basic gist of how this goes from here on out: once we see some bubbles, we’ll discard most of the starter and add some more flour and water. At that point, we’ll do what we just did every day or so—discarding and feeding and checking in every so often. Within about a week or so, we’ll notice our starter rising, which is what we want.
Not to freak you out unnecessarily, but at a certain point we want to make sure that we keep the lid to our starter pretty loose. The starter works by turning gluten (I’m pretty sure) into gas (somehow), which makes bubbles and eventually leavens our bread. Keep in mind that the gas will need somewhere to go. This is a problem for a few days from now, though, and no one has the mental bandwidth at this point to worry about next week’s problems. So I’d encourage you not to.
And that’s it. Within a week or two, we’ll be making some sourdough bread. But that doesn’t mean we can’t bake in the meantime.
No-knead bread.
I started making bread after watching a video of Mark Bittman visiting Jim Lahey, who owns Sullivan Street Bakery, which apparently is good. Baking bread, at that point, seemed as if it were a weird and arcane labor intensive process that was completely inaccessible to me. This video showed me that it can literally be as simple as mixing a few ingredients together and letting it sit overnight, so it seems like a good place for us to start.
If you want, let’s make some this weekend. I’ll send the ingredient list and instructions out tomorrow, so if we mix everything tomorrow night, we’ll be ready to bake on Saturday afternoon. I’ll send either a Twitch or a Zoom link if anyone is interested in doing it together, live, since the trickiest part is going to be the steps we do on Saturday.
What we’ll need to bake bread
Not a lot, actually. Most of what I’m listing below is nice to have, but not at all required. In terms of making your life easier, the most important is an oven-safe pot with a lid, then a scale, then a bench knife, then proofing baskets, then a cambro.
A quick note: I’m listing links here for convenience, and I would do it anyway, but through the magic of amazon’s affiliate program, they’ll give me a small cut of whatever you buy through these links. I’m not listing anything I haven’t bought myself, and you can do without everything except a scale and the oven-safe pot, but I assume you probably already have the latter. Please don’t buy anything on my behalf, but if you’re inclined to spend the money, anyway, it’s an easy way to redistribute some cash from jeff bezos to a broke grad student, and I’d appreciate it but honestly no worries at all.
A scale.
I didn’t appreciate how useful these are for the kitchen until I started using one for bread. Most recipes are in percentages, and it’s so much easier to weigh than use a measuring cup. Even more, you’d be amazed at how much volume-based measurements can vary.
If you want to read the benefits, and get a comparison of different options from someone who knows much more about this than I do, Sohla from the BA Test Kitchen gives some recommendations here.
I have a fancier one now (as you can see in the pics above), but I used this scale for a while, and it works just great. Important note, though: these scales are not water proof so be careful about getting it too wet (that’s why I have a newer, fancier scale; a little wet is fine).
A cambro.
This is definitely a luxury, but if you want to bake more than one or two loaves at a time, it’s super useful to have a big container to keep all that dough in. I have two of these 8 quart containers with lids, but you can go smaller if you want (6 quarts should work). I usually make 4 - 6 loaves at a time in one of these, no problem.
If you’re only making a loaf or two, then you can stick with a big bowl.
Proofing baskets.
I have about four of these baskets, but a medium sized bowl of about the same dimensions will do. A note of caution, though: make sure the bowl isn’t too big or shallow. If so, the dough will be too spread out and won’t rise well.
If you want a more oblong, bakery-style loaf, I’ve recently bought two of these, which I love. The second link comes with a dough scraper, which is useful just in general.
A bench knife.
To help shape the dough while you get the hang of using your hands (and to clean dough off your counter when you’re done), a bench knife like this is really useful. That’s the kind I have, and it has lasted me a while. Big fan.
A pot with a lid.
To bake your bread, you’ll need some kind of oven-safe pot with a lid (all metal, no plastic). I won’t get too in the weeds, but having a relatively sealed environment helps trap in moisture and stream, which lets the bread rise as it bakes. It’s a lot harder to get the same effect without one, so this is honestly the most important step to get decent bread at home without a lot of effort.
I’ve had success with just regular old pots, but the gold-standard-recommended-by-everyone way to cook good bread at home is to use a combo cooker from lodge. If you want to get really fancy, dutch ovens also work really well (this is the kind I have). I usually bake two loaves at a time, so I’ll bake on in the combo cooker and one in the dutch oven.
Flour (this kind of goes without saying).
Regular all-purpose flour is really all you need, and some wheat flour is useful, too. I’d recommend buying middle-of-the-road flour to start—you don’t need to go crazy, but it’s probably a good investment to splurge at least a little. Once you a reach a certain point, you’ll want to do some research on gluten content and protein percentages and the fine distinctions between bread and AP flour etc etc, but that is a long way from now. Don’t worry about it.
But if/when you get to that point, and if want to start churning out a lot of loaves like I do, then I’d recommend buying your flour in bulk from a bakery or restaurant supply store. My go-to has been a 50-pound bag of Sir Galahad from King Arthur, but it currently seems sold out just about everywhere (usually I get it from Webstaurant). I just bought a 50 pound bag of Organic Artisan Bakers Craft Plus from Central Milling. It comes highly recommended, but I’ll report back.
I know it’s kind of hard to find flour, now, so just get what you can (and don’t hoard!) It won’t matter all that much at this point.
A razor blade or lame (pronounced “lahm,” it means “blade” in french).
This isn’t necessary, but at some point we want to score our bread, which helps it rise correctly but also makes our loaves look pretty. I’ve found that a simple razor blade is ideal for this, but a lot of people like to use a lame, but I’ve never liked them much. In a pinch, some scissors or a knife will do (n.b. the knife has to be really sharp, and I have never gotten a knife to work as well as a razor blade).
And that’s it. Thanks for reading, and hope to bake some bread with you soon!

vlad